Introduction
Good morning, everyone! It’s great to see you all back for our third lecture in the course “Mastering LoRa Technology and LilyGO Devices for Secure IoT and Communication Networks.” Over the past two sessions, we’ve laid a solid foundation by exploring what LoRa technology is and how it compares to other communication technologies like Wi-Fi, Bluetooth, and Zigbee.
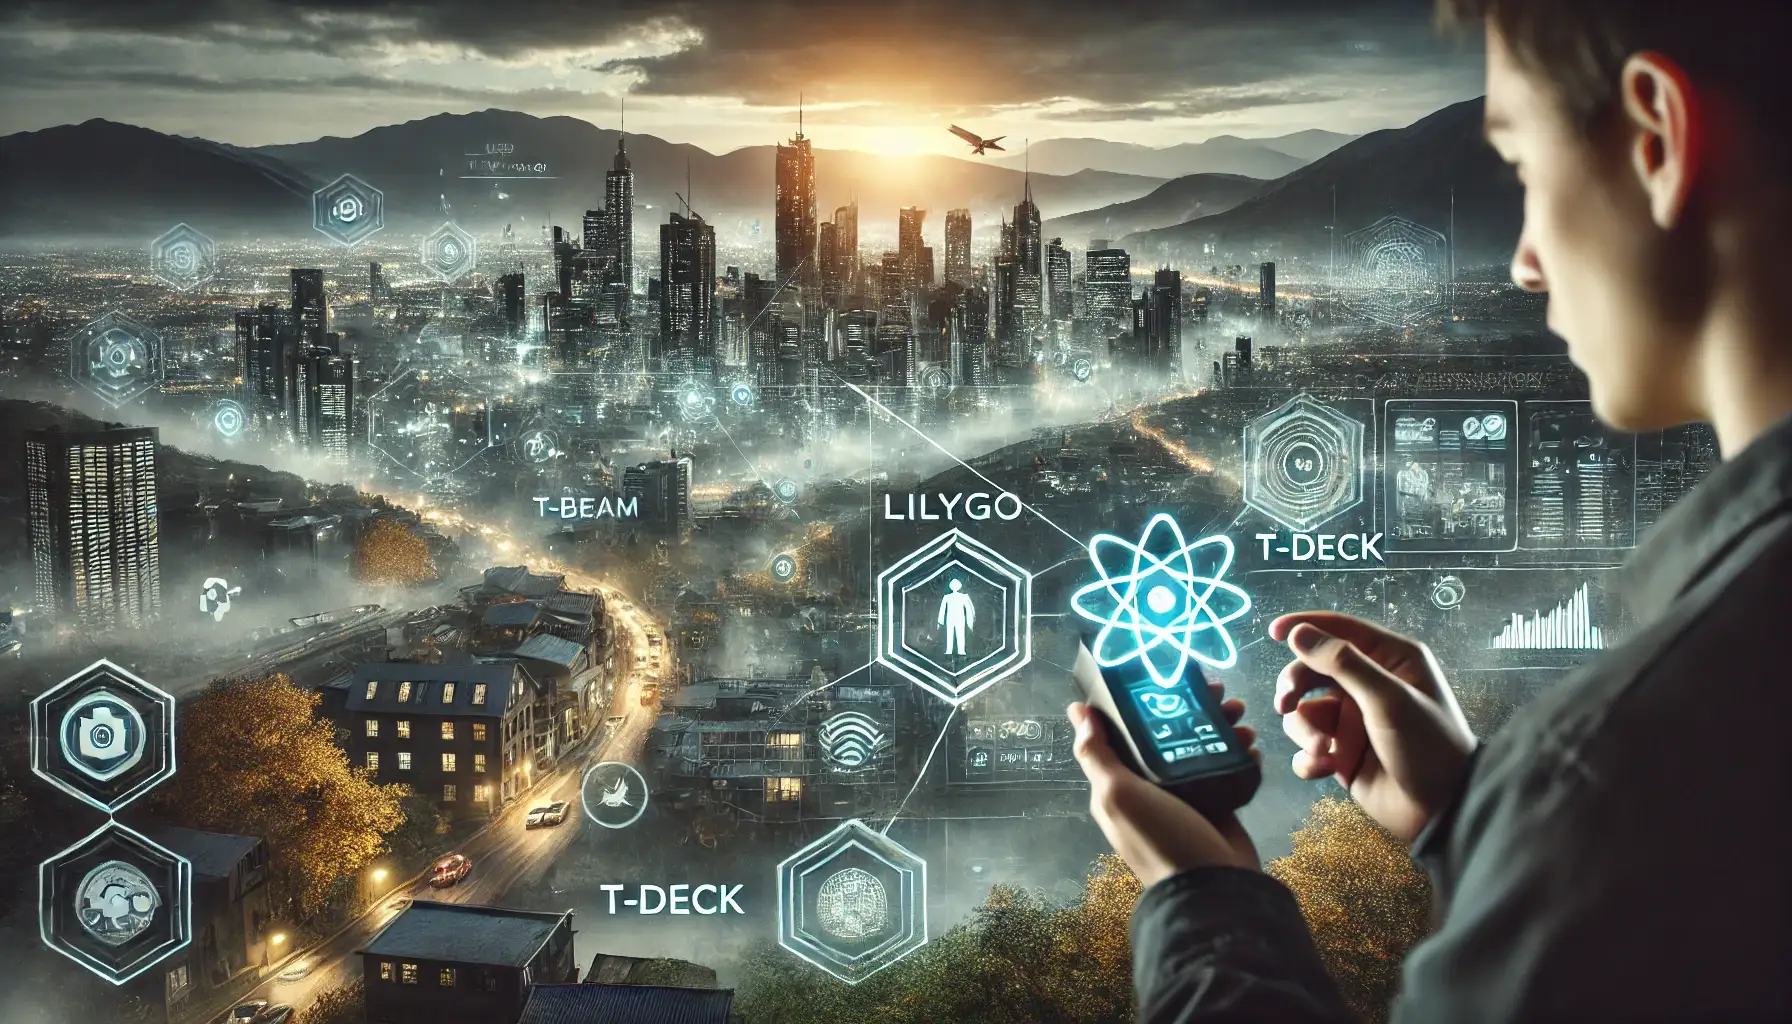
Today, we’re going to bridge the gap between theory and practice by diving into the hardware that will enable us to harness the power of LoRa: the LilyGO devices. We’ll focus on two of their most prominent products—the T-Beam and the T-Deck — as well as touch upon other key devices in their lineup. By understanding their features and applications, you’ll be better equipped to choose the right tools for your projects and appreciate the possibilities they offer.
The World of LilyGO
Before we delve into specific devices, let’s get acquainted with LilyGO as a company. Founded in Shenzhen, China, LilyGO specializes in creating innovative hardware solutions for the Internet of Things (IoT) community. They are renowned for producing cost-effective, open-source development boards that integrate powerful microcontrollers with various communication modules, including LoRa, Wi-Fi, Bluetooth, and more.
What sets LilyGO apart is their commitment to accessibility and community engagement. Their products are designed to be user-friendly, making them ideal for both beginners venturing into IoT and seasoned professionals developing complex systems. The open-source nature of their devices encourages collaboration, allowing developers worldwide to share code, ideas, and support.
Introducing the LilyGO T-Beam
Let’s begin our exploration with the LilyGO T-Beam, one of the most versatile and popular devices in their lineup.
Imagine a compact board that combines long-range communication, location tracking, and robust processing power. The T-Beam achieves this by integrating several key components:
1. ESP32 Microcontroller: At the heart of the T-Beam lies the ESP32, a powerful dual-core processor with integrated Wi-Fi and Bluetooth capabilities. It’s known for its efficiency and versatility, making it a staple in IoT projects.
2. LoRa Module (SX1276/SX1278): The T-Beam includes a Semtech LoRa transceiver, enabling it to communicate over long distances while consuming minimal power. This is crucial for applications where devices are spread out over large areas.
3. GPS Module (NEO-6M): Equipped with a Ublox GPS module, the T-Beam can determine its precise location. This feature is invaluable for tracking and navigation applications.
4. 18650 Battery Holder: The built-in battery holder allows the device to be powered by a standard 18650 lithium-ion battery, facilitating portable and remote operation.
5. External Antenna Ports: To enhance signal strength and range, the T-Beam provides connectors for external LoRa and GPS antennas.
6. Expansion Interfaces: With GPIO pins and other interfaces, you can connect additional sensors and peripherals, tailoring the device to your specific needs.
Common Applications of the T-Beam
The T-Beam’s combination of features opens up a multitude of possibilities:
– Asset Tracking: Companies can monitor the location of vehicles, equipment, or goods in transit without relying on cellular networks, reducing costs and increasing reliability.
– Environmental Monitoring: By connecting sensors to measure temperature, humidity, air quality, or soil moisture, the T-Beam can transmit data from remote locations for agricultural or environmental research.
– Emergency Communication: In situations where infrastructure is compromised—such as natural disasters—the T-Beam can help establish ad-hoc communication networks to coordinate rescue and relief efforts.
– Wildlife Tracking: Researchers can attach T-Beams to animals to study migration patterns and behaviors in their natural habitats.
Why the T-Beam Stands Out
The T-Beam’s strength lies in its integration of communication and location capabilities in a single, compact device. Its compatibility with the Arduino IDE and other development environments makes programming accessible, even for those new to embedded systems. The ability to operate on battery power enhances its suitability for field deployments.
Exploring the LilyGO T-Deck
Next, let’s turn our attention to the LilyGO T-Deck, a device designed with user interaction and portability in mind.
Key Features of the T-Deck
1. ESP32 Microcontroller: Like the T-Beam, the T-Deck is powered by the ESP32, ensuring strong processing capabilities and connectivity options.
2. LoRa Communication: It incorporates a LoRa module, facilitating long-range wireless communication.
3. Integrated Display: The T-Deck features a built-in 1.14-inch TFT color display. This allows for real-time data visualization, menu navigation, and status monitoring directly on the device.
4. Input Interface: With touch buttons or a small physical keyboard, users can interact with the device, input data, and control functions without needing external peripherals.
5. Battery Support: Equipped with a lithium battery and charging circuitry, the T-Deck is designed for mobility.
6. Expandable Interfaces: GPIO pins and other connectors enable the addition of sensors, modules, or other hardware components.
Common Applications of the T-Deck
The T-Deck’s unique features make it ideal for:
– Portable Communication Devices: Create handheld units for sending and receiving messages over LoRa networks, useful in off-grid scenarios or events.
– Field Data Entry: Users can input data directly into the device while in the field—such as survey results or inventory counts—and transmit it back to a central system.
– Educational Tools: Its interactive nature makes the T-Deck an excellent platform for teaching programming, electronics, and IoT concepts.
– Custom Interfaces: Develop specialized handheld controllers or monitors for equipment, vehicles, or systems.
What Makes the T-Deck Unique
The T-Deck’s built-in display and input capabilities set it apart from other development boards. This integration reduces the need for additional hardware, streamlining the development process for applications that require user interaction. Its compact size and battery operation make it highly portable.
Other Noteworthy LilyGO Devices
While the T-Beam and T-Deck are among the most prominent, LilyGO offers a range of other devices that cater to different needs:
1. LilyGO TTGO LoRa32
– Overview: A compact development board that combines the ESP32 microcontroller with LoRa capabilities and an OLED display.
– Features:
– Small form factor suitable for wearable or space-constrained applications.
– 0.96-inch OLED screen for displaying information.
– Built-in battery charging circuitry.
– Applications:
– Personal trackers.
– Portable sensor nodes.
– Compact data transmitters.
2. LilyGO T-SIM
– Overview: An ESP32-based board that adds cellular connectivity to the mix.
– Features:
– SIM card slot supporting 4G LTE communication.
– GPS functionality.
– LoRa and Wi-Fi capabilities.
– Battery support.
– Applications:
– IoT devices requiring internet access where Wi-Fi is unavailable.
– Remote monitoring systems.
– Mobile data terminals.
3. LilyGO T-Watch
– Overview: A smartwatch development platform.
– Features:
– Touchscreen display.
– ESP32 microcontroller.
– Multiple sensors (accelerometer, gyroscope, etc.).
– Wi-Fi and Bluetooth connectivity.
– Applications:
– Custom wearable devices.
– Health and fitness tracking.
– Interactive user interfaces for IoT control.
4. LilyGO T-Camera
– Overview: A board that integrates a camera module with the ESP32.
– Features:
– OV2640 camera sensor.
– PIR motion sensor.
– Microphone.
– Wi-Fi and Bluetooth.
– Applications:
– Security cameras.
– Wildlife monitoring.
– Home automation (e.g., doorbells, baby monitors).
Diving into Hardware Features
Understanding the hardware components of LilyGO devices will help you appreciate their capabilities and how to leverage them in your projects.
ESP32 Microcontroller
– Processing Power: Dual-core 32-bit processor with clock speeds up to 240 MHz.
– Connectivity: Integrated Wi-Fi (802.11 b/g/n) and Bluetooth (v4.2 BR/EDR and BLE).
– Memory: SRAM and flash memory sufficient for complex applications.
– Low-Power Modes: Multiple sleep states to conserve energy when full operation isn’t necessary.
LoRa Modules (SX1276/SX1278)
– Frequency Bands: Supports various frequencies (e.g., 433 MHz, 868 MHz, 915 MHz) depending on regional regulations.
– Long-Range Communication: Ideal for transmitting data over several kilometers.
– Robustness: Resistant to interference and capable of operating in challenging environments.
Displays and Input Devices
– TFT and OLED Screens: Allow for the presentation of data, system status, or user interfaces directly on the device.
– Touch and Physical Buttons: Enable user interaction without additional hardware.
Power Solutions
– Battery Integration: Support for various battery types, including rechargeable lithium-ion cells.
– Charging Circuits: Onboard components manage safe charging and power regulation.
– Energy Efficiency: Designed to maximize battery life, crucial for remote or portable applications.
Expansion Capabilities
– GPIO Pins: Provide the flexibility to add sensors, actuators, or other peripherals.
– Interfaces: Support for I2C, SPI, UART, and other communication protocols.
Real-World Applications and Case Studies
Let’s consider some scenarios where LilyGO devices have been effectively utilized:
1. Environmental Monitoring in Agriculture
– Challenge: Farmers need to monitor soil moisture, temperature, and humidity across vast fields to optimize irrigation and improve crop yields.
– Solution: Deploy T-Beam devices equipped with appropriate sensors. Data is transmitted via LoRa to a central gateway, where it’s analyzed to make informed decisions.
– Benefits: Reduced water usage, increased efficiency, and improved crop health.
2. Wildlife Conservation Efforts
– Challenge: Tracking the movement patterns of endangered species without disturbing their natural behaviour.
– Solution: Attach lightweight T-Beam units to animals. GPS data is periodically transmitted over LoRa, minimizing battery usage and avoiding the need for cellular networks in remote areas.
– Benefits: Valuable data collection with minimal impact on wildlife.
3. Community Mesh Networks
– Challenge: Providing communication capabilities in rural areas with limited infrastructure.
– Solution: Use T-Deck devices to create a mesh network where each device acts as a node, relaying messages throughout the community.
– Benefits: Enhanced connectivity for information sharing, emergency alerts, and community coordination.
4. Industrial Equipment Monitoring
– Challenge: Monitoring the status of machinery in a factory to prevent downtime.
– Solution: Install sensors connected to LilyGO devices throughout the facility. Data on vibration, temperature, and performance is sent to a central system for real-time monitoring.
– Benefits: Predictive maintenance reduces unexpected breakdowns, saving time and costs.
Getting Started with LilyGO Devices
To begin experimenting with LilyGO devices, follow these steps:
1. Select the Appropriate Device
– Assess your project’s requirements in terms of communication needs, processing power, and peripheral support.
2. Set Up Your Development Environment
– Arduino IDE: Install and configure the Arduino Integrated Development Environment, adding the necessary board support packages for ESP32.
– PlatformIO: An alternative to the Arduino IDE, offering more advanced features and integration with Visual Studio Code.
3. Familiarize Yourself with Libraries and Examples
– LilyGO provides libraries and sample code on their GitHub repositories. Studying these examples can accelerate your learning curve.
4. Connect Sensors and Peripherals
– Use the GPIO pins to interface with sensors, displays, or actuators relevant to your application.
5. Program and Test Your Device
– Write your code incrementally, testing each component to ensure proper functionality.
– Utilize serial output and on-device displays for debugging.
6. Engage with the Community
– Join forums, discussion groups, and social media communities centered around LilyGO and ESP32 development.
– Sharing your experiences and challenges can lead to valuable insights and collaborations.
Challenges and Considerations
While LilyGO devices offer immense potential, it’s important to be mindful of:
– Regulatory Compliance: Ensure that your use of radio frequencies (LoRa, Wi-Fi, Bluetooth) complies with local regulations to avoid interference with other services.
– Power Management: For battery-operated devices, implement power-saving strategies to extend operational life.
– Security: Protect your data and devices by implementing encryption and secure authentication methods, especially for applications involving sensitive information.
– Environmental Factors: Consider the operating conditions — temperature, humidity, exposure to elements — and choose appropriate enclosures or protective measures.
Conclusion
Today, we’ve journeyed through the landscape of LilyGO devices, uncovering the features and applications of the T-Beam, T-Deck, and other key products. These devices serve as the building blocks for creating innovative IoT solutions that can tackle real-world challenges.
Understanding the hardware is a crucial step in our learning path. As we move forward, we’ll begin to interact directly with these devices, setting them up, programming them, and integrating them into networks. This hands-on experience will solidify your understanding and open the door to creating your own projects.
Questions and Discussion
Let’s take some time to address any questions you might have.
Question: Can I use the T-Beam’s Wi-Fi capabilities while also utilizing LoRa and GPS functionalities?
Answer: Yes, the ESP32 microcontroller on the T-Beam supports simultaneous operations of Wi-Fi, Bluetooth, and other functions. However, be mindful of the processing load and power consumption. Efficient coding and power management practices will help ensure smooth operation.
Question: How difficult is it to add external sensors to these devices?
Answer: Adding external sensors is relatively straightforward. The GPIO pins on LilyGO devices support standard communication protocols like I2C and SPI. You’ll need to connect the sensor according to its specifications and include the appropriate libraries in your code.
Question: Are there any limitations regarding the number of devices that can be connected in a LoRa network?
Answer: LoRa networks can support a large number of devices, but factors like data transmission intervals, network architecture, and regional regulations (e.g., duty cycle limits) can impact performance. Proper network planning and configuration are essential for scalability.
Additional Resources
To deepen your understanding and assist with practical implementation, I recommend:
– LilyGO Official Documentation: Detailed specifications, user manuals, and schematics are available on their official website and GitHub repositories.
– Community Forums and Tutorials: Websites like the Arduino Forum, Stack Overflow, and YouTube offer tutorials and discussions that can help you troubleshoot and learn new techniques.
– Books and Online Courses: Consider resources focused on ESP32 programming, IoT development, and embedded systems for a more comprehensive learning experience.
Closing Remarks
Embracing the capabilities of LilyGO devices empowers you to bring innovative ideas to life. Whether you’re interested in environmental conservation, enhancing industrial processes, or exploring new frontiers in communication, these tools provide a platform to make a tangible impact.
As we proceed to our next lecture on **Basic Hardware Setup**, I encourage you to reflect on potential projects you’d like to pursue. Think about how the features we’ve discussed align with your interests and how you might apply them to solve real-world problems.
Thank you for your engagement and curiosity today. I’m excited to continue this journey with you, turning concepts into creations. If you have any further questions or need assistance outside of class, please feel free to reach out.
‘See you all in the next session!’